Traditional Baguette Recipe

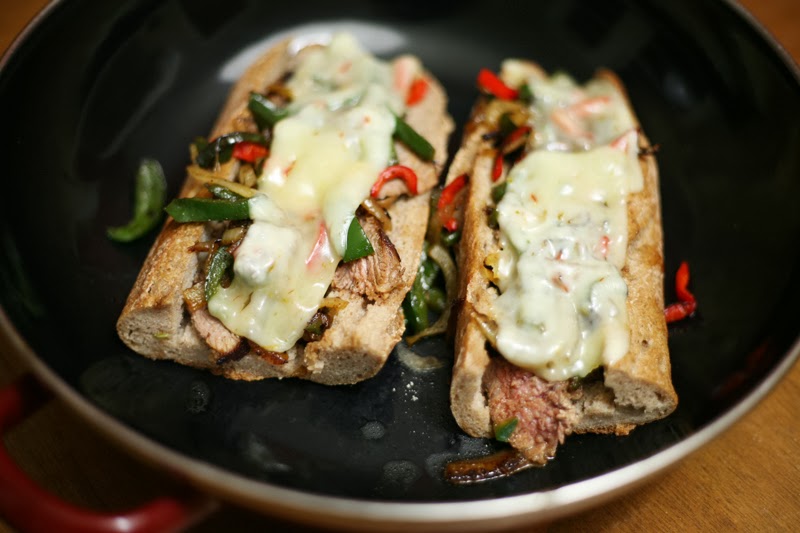
I know that I've got a good bread recipe if, after first tasting a loaf, my boyfriend immediately plans on making a sandwich out of it. If the bread is just okay, I get an unconvincingly encouraging "That's good!" If it's great, I get, "We could cook some bacon and make a BLT with melted cheese!" Then, even if it's 11:00 at night after a heavy meal, he will make that sandwich.
I got all kinds of compliments on my baguettes for Christmas dinner, from people who ate gluten and from those who were gluten-free. It was an amazing and filling meal, and yet my boyfriend made little turkey sandwiches afterward with baguette slices and turkey bits. That says it all.
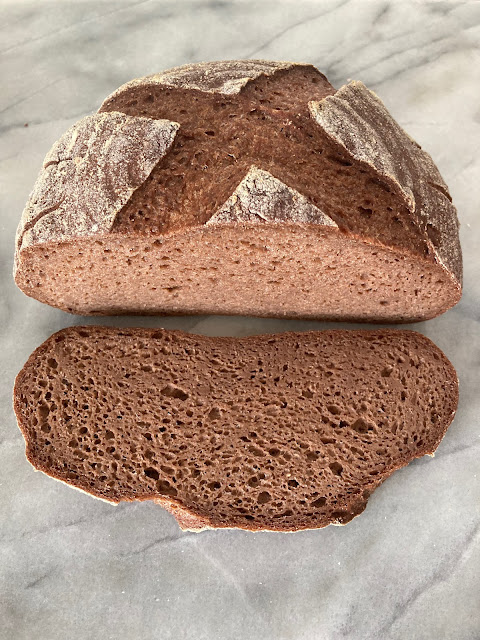
I made a quick version of this recipe which works great for a tight schedule. This recipe is more traditional, with two rises of the dough. That slow process improves the flavor and the browning of the crust for a more traditional artisan look and taste to your bread.

Traditional Baguette Recipe
Makes 2 baguettes
Prep time: 2 hours
Cook time: 20 minutes
For this recipe you will need:
- warm water
- a baguette pan (not 100% necessary, but it helps to shape the loaf)
- extra flour - white rice flour or any starch is great for dusting
In the bowl of your stand mixer, whisk together:
245g warm water (100-115 degrees F)
245g warm water (100-115 degrees F)
Add:
15g whole psyllium husk (or 10g ground psyllium husk)
Whisk the psyllium husk into the wet ingredients just until all the psyllium is wet. Set aside about 25 grams or 2 Tbsp of the bread flour. Add to the wet ingredients:
15g whole psyllium husk (or 10g ground psyllium husk)
Whisk the psyllium husk into the wet ingredients just until all the psyllium is wet. Set aside about 25 grams or 2 Tbsp of the bread flour. Add to the wet ingredients:
Mix the dough with the dough hook until the dough is uniform. Let the dough rise in a warm spot, covered, for 1 hour.
After the first rise, punch the dough down, then add the 25 grams of flour set aside and knead it into the dough with your hands or with the dough hook of your stand mixer.
Form the baguettes by dividing the dough into two equal portions. Flour your work surface and scoop the dough onto the work surface. Wet your hands and press the dough into a rectangle. Take one long side of the dough and fold it over onto the middle of the rectangle. Pinch the edge down.

Repeat this step to close the dough into a tube. Re-flour the surface if necessary. Roll out the dough with your hands by gently but firmly rolling it against the counter as though making a play-dough snake. Get the snake as even as you can, but don't roll it out longer than your baguette pan. Taper the ends by rolling them out more firmly. You don't need to get too fussy.
Place them diagonally on a large piece of parchment paper on the baguette pan seam-side down. (If you don't want them as floury as pictured, brush the flour off with a clean, dry pastry brush.) Cover the baguettes and let the dough rise in a warm place for 30 minutes. Pre-heat the oven to 450 degrees F. Score the top of the loaves deeply, holding the knife at a 45 degree angle and overlapping the cuts somewhat. See a good scoring demo video here.
Wrap the loaves by stapling the parchment paper together in a tent shape as pictured. This traps the steam so that the crust browns nicely.


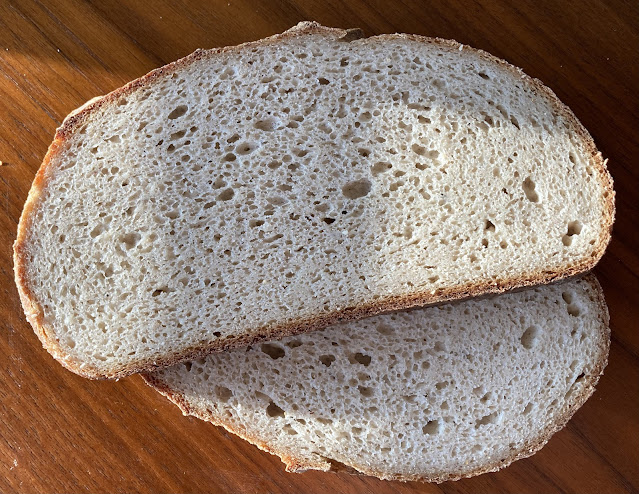
Cook the bread for 25 minutes, or until it is done. When the bread is cooked through it will sound hollow when tapped on the bottom.

Enjoy your baguettes after they have cooled for at least 10 minutes.

Comments
Thank you!!
Thank you! Looks so yummy :)
thank you for sharing your amazing recipes. I did the Mild country sourdough bread and it is a game changer. I would like to make your baguette recipe but would like to make it with sourdough starter instead of yeast. Do you have a tip on how to change the recipe to do that? I would assume to minimize the water and flour by the amount which is in the starter and experiment with how much starter to use.
Thank you
Robert