Gluten-free recipes by Gina Kelley of Portland, Oregon. The best GF waffles, scones, pastries and bread.
Teff Sourdough Starter Recipe Ready in 5-7 Days
Get link
Facebook
X
Pinterest
Email
Other Apps
If you are gluten-free, or just want to experiment with gluten-free bread, creating a sourdough starter is the first step. I've found a few ways to do this very quickly and reliably. While no starter method can claim to be foolproof, I think this one is very reliable.
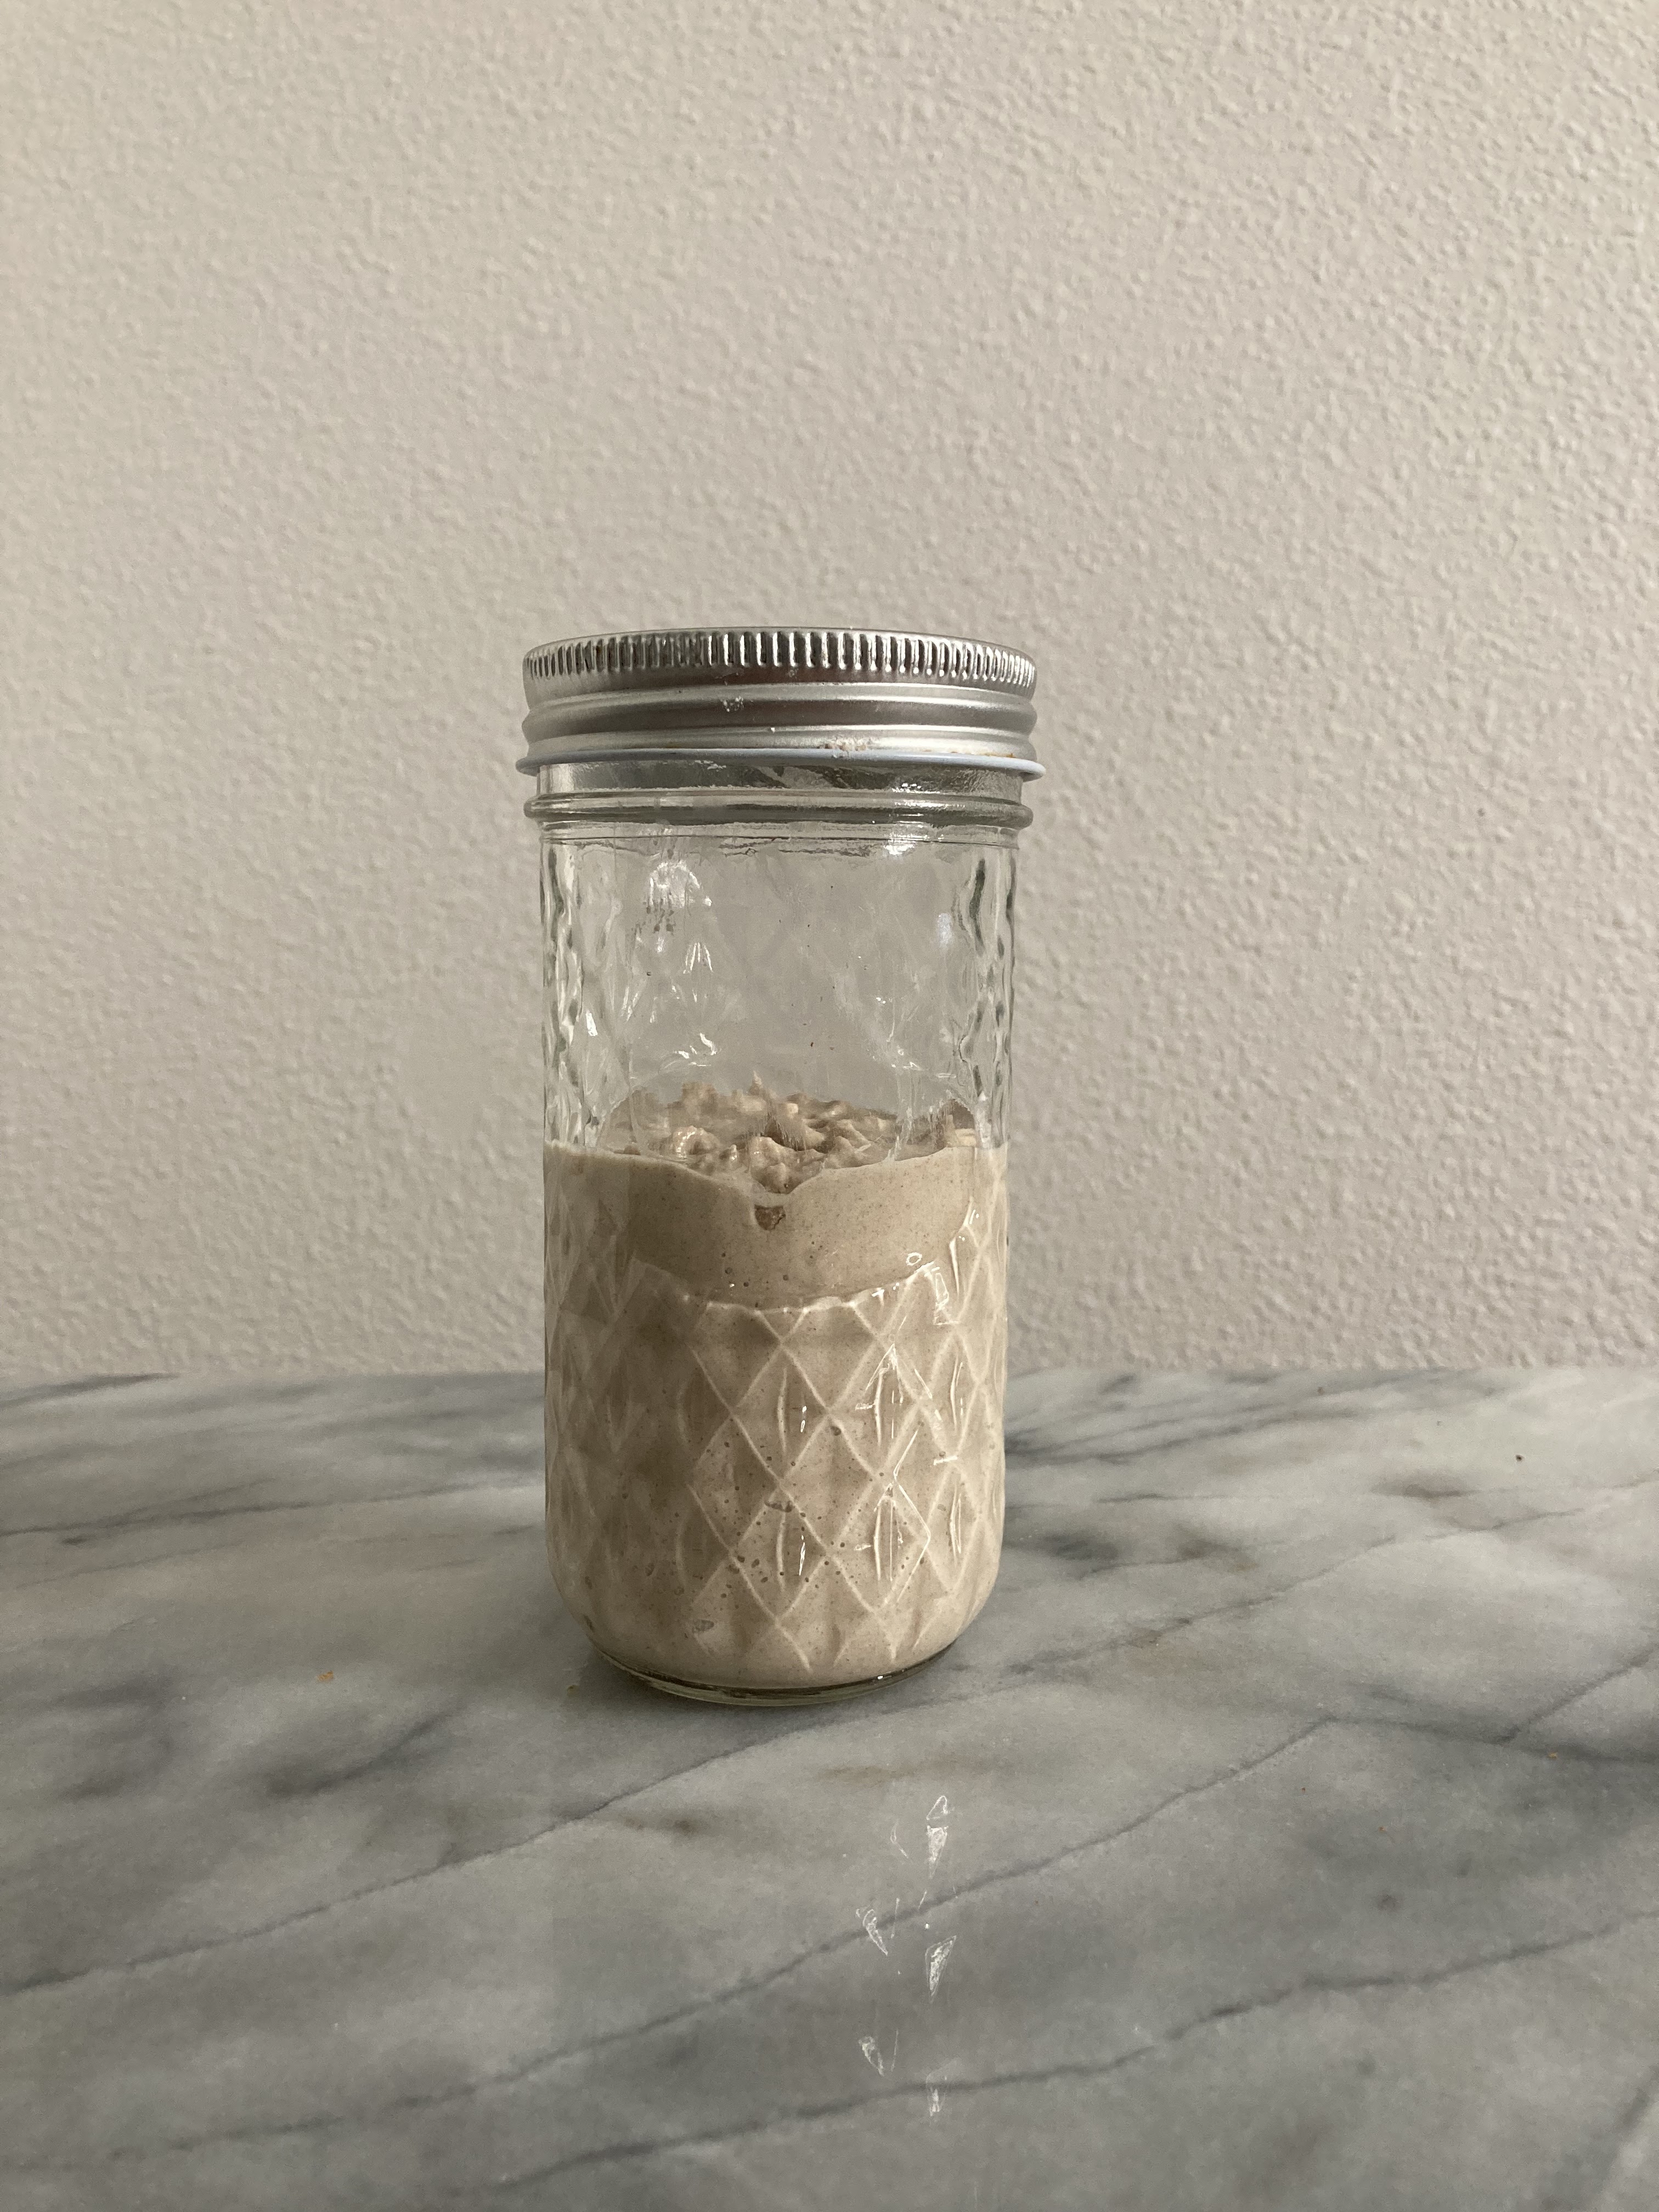
Ivory Teff Starter at peak
My starter is shown just past peak here and starting to collapse after doubling
Awhile back I posted a recipe for a gluten-free sourdough starter that is ready to use in 3-7 days. While I still like this method, I've found that it's a bit fussy and it takes some special equipment to heat the starter. This 5-day method takes no special equipment other than some bowls and jars.
My method is a modification of the technique seen in this video by Julia Child and Joe Ortiz. Here is the video that was the inspiration for this teff starter method. Caution: this video contains wheat!
Why does this starter method work?
Somehow this method of creating a starter circumvents the stage where the starter smells funky and weird. This "leuconostatic phase"is particularly problematic for teff flour which has a hard time moving past the funkiness. I think it's some combination of leaving it to ferment longer on the first step, the lower hydration, and the cumin. Here are a few discussions of this method and why it works on The Fresh Loaf:
Here I have adapted the technique specifically for teff flour. I'm finding it's ready to use for baking bread in 5-7 days. In addition to creating a starter very quickly without special equipment, this method also saves on waste as you only have to throw away a small amount of dough.
Teff Sourdough Starter Recipe
Ready to use in 5-7 days.
Day 1.
In a small bowl combine:
75g teff flour (shown is ivory teff, but brown teff is great too)
.25g or 1/8 tsp ground cumin
65g spring water
Mix these ingredients until it makes a dough. Form a ball and let sit in the bowl, covered, for about 48 hours.
The starter just after feeding
The starter after 48 hours
The dough is broken open to take the starter from the center
Day 3.
The outside of the ball will look a little oxidized and gray. This is fine. Break open the ball of dough and extract from the inside an amount about the size of a large nut. Combine in a small clean bowl:
50g of the original starter
50g of teff flour
40g of spring water
Mix and form a ball of dough and let it sit for 24 hours.
The starter just after feeding
The starter after 24 hours
Day 4.
Here you will mix the sourdough starter at a 1:1:1.1 ratio or a little wetter, sometimes 1:1:1.2, to transform your stiff starter into a liquid starter.
In a clean jar or plastic tub with a lid, mix:
50g starter from the previous day
50g teff flour
55g spring water
After mixing this thoroughly, add another 5-10g water if needed to make it a kind of thick pancake batter consistency.
The starter just after feeding
The starter has doubled in size
Day 5.
About 12 hours after the last mix, the starter should have peaked and fallen already, or may be just peaking (doubling in size). Do not feed the starter again until after it has peaked. If it takes longer than 12 hours, that's okay, just wait for it to rise and start falling again before feeding.
You may keep refreshing the starter on one of these schedules as it's convenient for you:
12-hour schedule
This is the most typical schedule you will see people mention with sourdough starter, called 1:1 feeding, meaning that the you feed the starter an equal weight of flour).
Every 12 hours, feed the starter:
50g starter from the previous feed
50g teff flour
55g spring water
24-hour Schedule
This is a 1:10 feeding. It's great if you don't want to feed your starter every 12 hours.
Every 24 hours, feed the starter:
10g starter from the previous day
100g teff flour
110-120g spring water as needed for consistency
When the starter is 5-7 days old, it should be ready to use in making bread. The signs that it's ready to use are:
- it smells like sourdough starter
- it is rising/peaking consistently, and almost doubling in size at peak. If feeding on the 12-hour schedule above, it should peak in about 6 hours. If feeding on the 24-hour schedule, it should peak in 10-12 hours.
Once these two criteria are met, you can use the starter in making bread.
Refrigerating the Starter
When the starter is at least a week old, and it's meeting the two criteria above, you can refrigerate the starter at its peak. I find that my starter is good to use straight from the fridge for about 5 days after I put it in there. Any longer than that and it doesn't have as much rising power and I have to refresh it and let it rise to peak again before using.
Here are some signs that the starter is not ready:
- it smells like raw dough, vinegar, or acetone at the time when it should be ready to refresh.
- it is not rising much, not doubling in size, and has few bubbles.
If these symptoms persist after a week, I usually just start over and try again. Sometimes the original batch of flour that was used to create the culture just didn't have enough microorganisms in it to ferment.
I’m on day 5, 24 hours since my last feeding and my starter hasn’t peaked or bubbled. Should I continue to wait before refeeding? It’s a bit watery on top, a little gray.
Thank you so much for your blog. I use your recipes multiple times a week.
Hi Nicole. Thanks for trying my recipes! In the beginning stages there can be some stop and go. If you’re sure it hasn’t peaked yet, better to wait until it does. I haven’t had this happen at this stage, but in general always let it rise before feeding, is the whole philosophy of this method. Feeding too soon will just dilute the microbes. I hope it perks up for you!
Anonymous said…
Hello! I’m on day four of the starter. For Day 5, when you can switch to the 24 hour feeding, is it truly only 10 grams of starter as the recipe states or should it be 100? Thank you, I’m excited to bake my first loaf!
Yes, if you want to go to a 24 hour feed, it’s a 1:10:12 feed, which means only 10 g starter to 100g flour . Only switch to this feeding ratio if you are confident that your starter has taken hold and is active. If not then continue to feed 1:1:1 (50g starter, 50g flour, 50g water) until your starter is rising reliably. However, at 1:1:1 you may have to watch it and feed in less than 24 hours.
Hi Gina, Can't wait to try this starter method! I am still experimenting with the classical technique and overall I am struggling to know when my starter is ready and hate throwing so much flour!
My question: can you then just use this method for teff breads or is it ok with any kind of breads? My regular bread are either predominantly buckwheat, oat or sorghum.
This method is just for teff. I have been able to adapt it for millet with some modifications for hydration, but I’m afraid it hasn’t worked for buckwheat, brown rice flour, or sorghum in my experiments. The thing is that not all gf flours can make a dough ball that stays together, and also some flours are prone to mold or other off results at low hydration. I’m working on a method for fermenting buckwheat easily. Sorghum starters work really well with the three day method I have posted on the blog previously. I haven’t tried this method with oat yet. It could work! I’ll try it.
Thank you for sharing this recipe. I noticed when going to covert measurements that each ingredient varies dependent upon different flours, liquids, starches, etc. Not wanting to mess this up, can you please kindly send in USA measurements / C., tsp., ounces, etc.?
Xanthan gum and guar gum have been the default binders for gluten-free baking in the United States for years. However, these substances have their limitations. They have no nutrient value, for starters. Then there's the fact that they don't give you much in the way of flexibility or strength in your final baked good. Did you ever make a gluten-free cupcake that tasted like cardboard and crumbled apart in your hand as you tried to eat it? Even though you put twice as much liquid into the recipe than you would have for "regular"flour? You can blame xanthan gum for that. The best binders out there for your gluten-free baking may not be what you thought they were. Chia, flax, and psyllium are the "it" girls of gluten-free bread baking right now. I'll tell you why and how. Chia Seed Origin: Mexico and Central America Remember the Chia Pet? The same seeds that you might have used to coat a clay doll to grow green "ha...
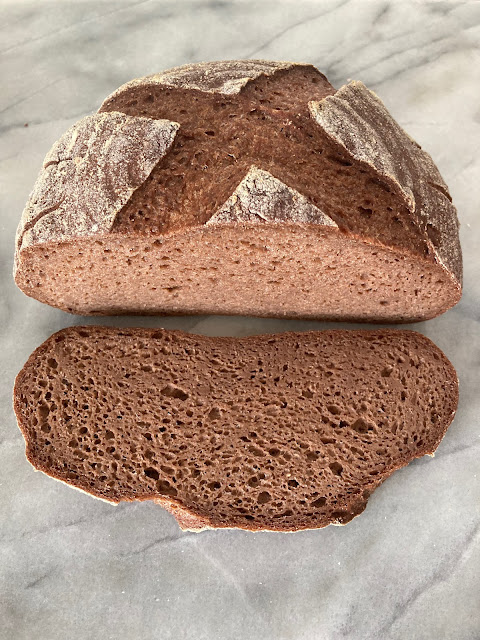
Teff Basics The first thing you need to know about teff is that it's a wild card, but only in the best possible way. Unlike other gluten-free grains, teff is the most flexible GF grain for baking, and it's also the most variable grain I've ever worked with for flavor. Nutty, earthy, sour, sweet, spicy, and mild are all flavors that I've gotten from teff bread. I'm still not always sure how to control the flavor, I'm just along for the ride. Teff is one of the world's tiniest grains and has been used in sourdough bread for as long as 40,000 years. (See this recipe for traditional injera flatbread .) It comes in two main varieities in the USA, brown and ivory, though many other varieties exist. It comes originally from Africa. However, Idaho seems to have a climate conducive to growing it, so that is where much of the teff is grown here in the USA. Bob's Red Mill , Maskal and Judee's are the three brands I buy. (I've included affiliate lin...
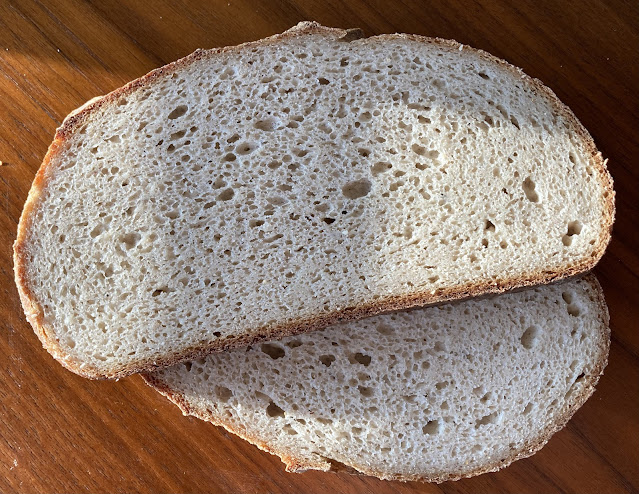
You’ve made your gluten free sourdough starter . What now? The discard, or unused portion of the starter can be repurposed in a number of ways. It’s the part of the starter that you don’t need to refresh or to use to leaven bread. You can throw it out, or you can use it to replace some of the flour and water in other recipes. It adds a great texture and flavor to recipes, and it’s particularly useful for gluten free recipes. There’s something about gf grains that benefits immensely from the fermentation process. They become more flexible, more workable, and much tastier. In this bread recipe the sourdough starter lends the bread strength, flexibility, and flavor. Want a sandwich loaf recipe? Check out my Yeasted Sourdough Sandwich Bread . Why is it not a regular sourdough bread? This bread is considered a discard bread, or sometimes called a hybrid loaf, because it contains sourdough but it's leavened with commercial yeast. What does it taste like? ...


Comments
I’m on day 5, 24 hours since my last feeding and my starter hasn’t peaked or bubbled. Should I continue to wait before refeeding? It’s a bit watery on top, a little gray.
Thank you so much for your blog. I use your recipes multiple times a week.
Can't wait to try this starter method! I am still experimenting with the classical technique and overall I am struggling to know when my starter is ready and hate throwing so much flour!
My question: can you then just use this method for teff breads or is it ok with any kind of breads? My regular bread are either predominantly buckwheat, oat or sorghum.
Thanks for a hint,
Pascale
This method is just for teff. I have been able to adapt it for millet with some modifications for hydration, but I’m afraid it hasn’t worked for buckwheat, brown rice flour, or sorghum in my experiments. The thing is that not all gf flours can make a dough ball that stays together, and also some flours are prone to mold or other off results at low hydration. I’m working on a method for fermenting buckwheat easily. Sorghum starters work really well with the three day method I have posted on the blog previously. I haven’t tried this method with oat yet. It could work! I’ll try it.